Setting up a SmartVan Resistive Sensor Module
In this guide we will be setting up a SmartVan Resistive sensor module with a water tank sender to display tank levels in Home Assistant.
What you'll need
- SmartVan Resistive Sensor module
- Water tank sender (pictured below)
- Home Assistant hub setup and running (click here if not)
Step 1 - Wiring
There isn't really much to say here other than it's pretty straight forward. The first 2 terminals are for the sensor (not polarity sensitive) while the second 2 are power inputs and are polarity sensitive. Positive on the left, negative on the right.


Step 2 - Power up and connect to wifi
The first thing you will notice is the red LED blinking every second. This shows that the module is powered on and is currently disconnected from Wifi. As it has never been connected to a Wifi hotspot before it will immediately begin to serve its own access point that you need to connect to, to configure it.
Open up your wifi settings to scan for local networks and look for an access point named smartvanio-rs-xxxxx or smartvanio-sensor-xxxxx and connect to it.

Once connected, open up your browser and go to `1.2.3.4`

You should now see the module config page

Step 3 - Setting up in Home Assistant
In the Home Assistant dashboard, go to Settings > Devices & services

Under the Discovered section, you should see your device show up. Click configure


The module will now be displayed in your list of devices

Step 4 - Viewing the water level in the dashboard
Out of the box the the default dashboard is not editable and requires you to "take control". It's where most of your entities and devices will be added automatically after they have been added to Home Assistant without any real layout structure. I recommend leaving it as is and creating a new dashboard where you can add entities as and when.
To do this we need to go to Settings > Dashboards

Then click on Add Dashboard

In the popup window give it a name and chose an icon, then click Create

You'll now see your new dashboard in the list, click Open to go straight to it. You should now see blank dashboard. In the top right corner click on the pen icon to begin editing it.

Now that the dashboard is in edit mode we can start adding cards to it. Click on Add card in the bottom right corner.

You'll notice there are a number of cards we can chose from, some are suitable for sensors and some aren't so feel free to have a play around but for the water tank level were going to use the Gauge card.

In the entity field, search for the smartvan prefix and select the entity you want. In this case it will be the percentage value entity

Give it a name and then click Save

Thats it, you now have a card displaying your water levels. Just click Done to exit edit mode.

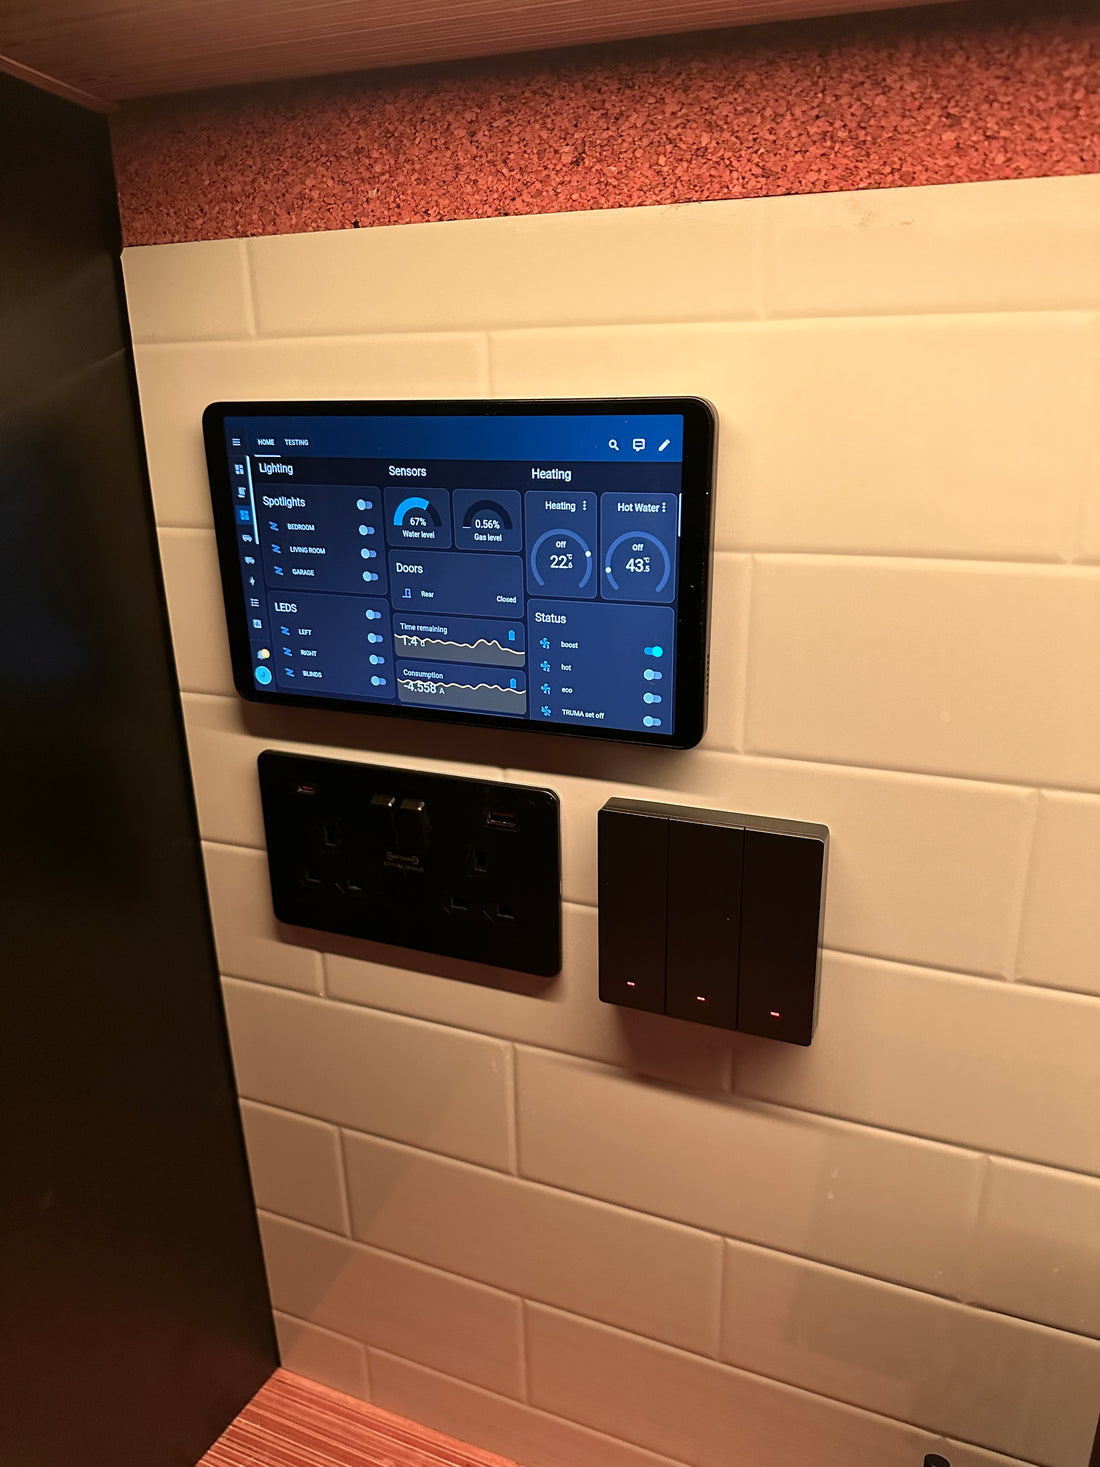
Hopefully this will give you a brief understanding on how entities are stored in Home Assistant and how to add them. Over time you'll have a fully fledge dashboard with everything you need. Lights, relays, Heating and more!
