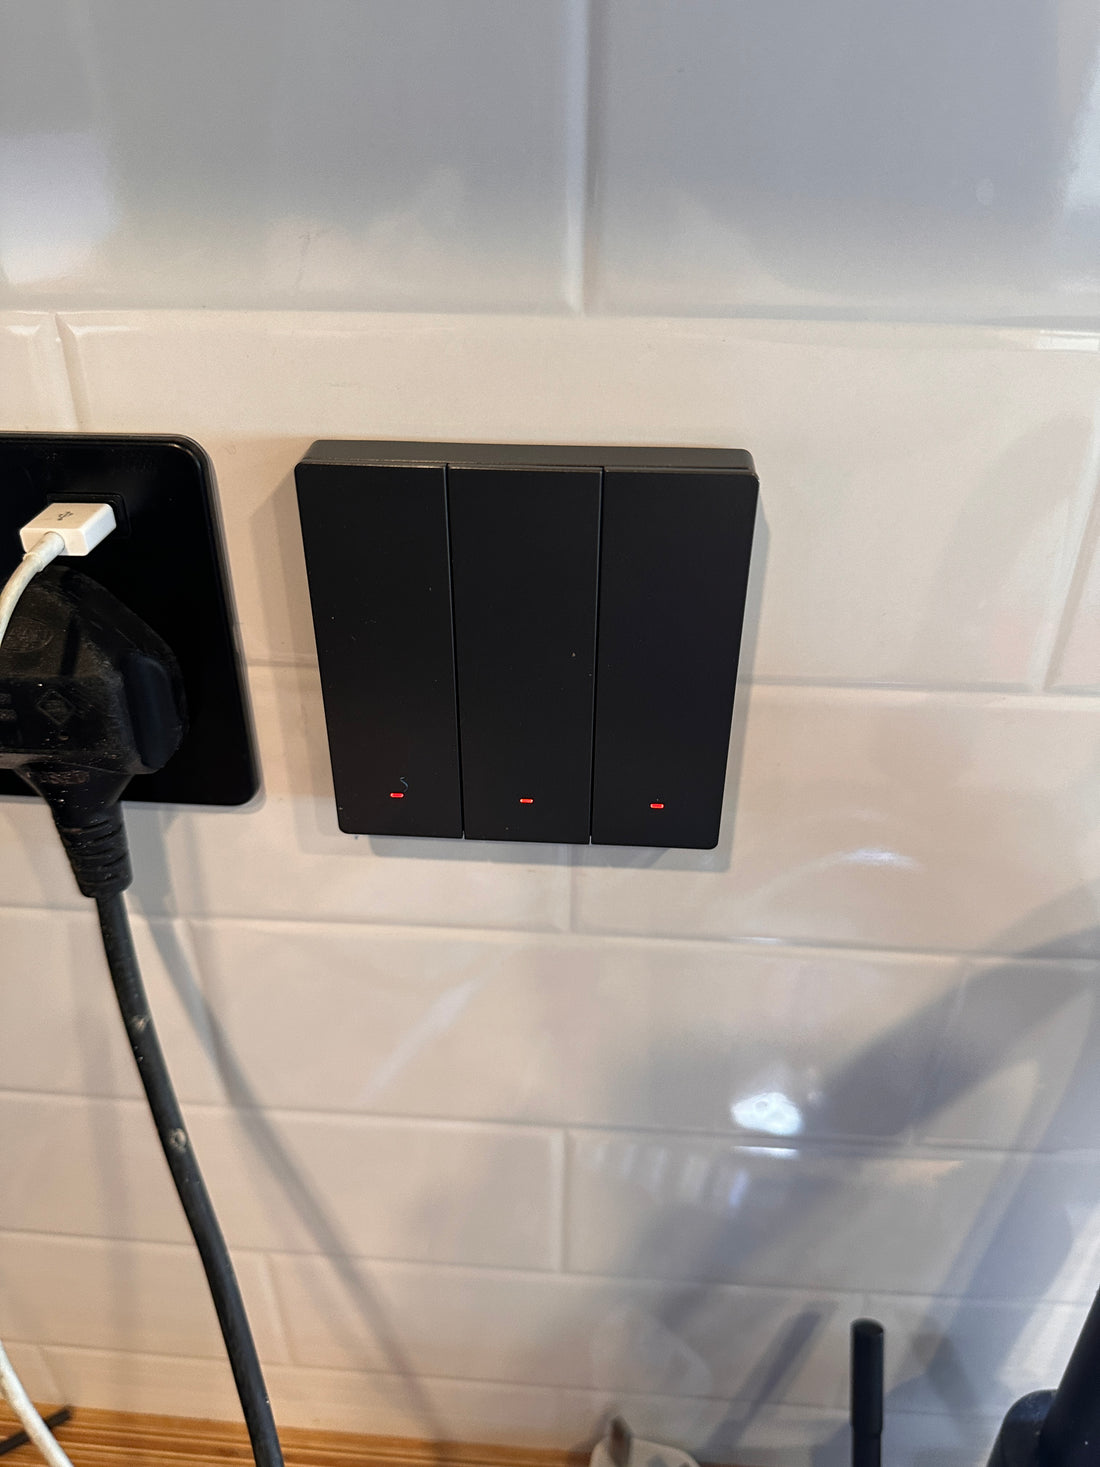
Using a SONOFF M5 3 Button Switch with Home Assistant in your SmartVan
In this guide I will show you can control status, brightness and colour of an RGB light with a single button on a SONOFF M5 3 button switch.
Before you can do any of that, you first need to make sure your SONOFF switch has been flashed with ESPHome and supports OTA updates. If it hasn’t then I suggest you follow this guide on how to do so.
The YAML config
Below is the yaml file you’ll need to flash your device with. If you followed the guide I linked above then you’ll see some similarities along with some additional features such as triple click and LED status blink when not connected to wifi. Feel free to play around with the timings but I feel like these worked well for me.
substitutions:
  name: switch
  friendly_name: switch
  sw_version: 1.0.0

esphome:
  name: smartvanio-${name}
  friendly_name: smartvanio-${friendly_name}
  min_version: 2024.6.0
  name_add_mac_suffix: true
  project:
    name: esphome.web
    version: "1.0"

esp32:
  board: esp32dev
  framework:
    type: arduino

api:

ota:
  - platform: esphome

wifi:
  # Set up a wifi access point
  power_save_mode: none
  ap: {}

captive_portal:

web_server:
  version: 3

logger:
  level: DEBUG

debug:
  update_interval: 5s

# Diagnostic output sensors
text_sensor:
  - platform: template
    name: "Deployment Version"
    lambda: return {"${sw_version}"};
    icon: "mdi:tag"
    entity_category: diagnostic

  - platform: wifi_info
    ip_address:
      id: ip_address
      name: "IP Address"
      icon: "mdi:wan"

binary_sensor:
  - platform: status
    name: "Status"
    entity_category: diagnostic
    id: sensor_status

  - platform: gpio
    name: "Button 1"
    id: button_1
    pin:
      number: GPIO04
      mode: INPUT_PULLUP
      inverted: true

    filters:
      - delayed_on: 10ms

    on_press:
      - if:
          condition:
            switch.is_off: relay_1_decoupled
          then:
            - switch.toggle: relay_1

    on_multi_click:
      # triple click detection
      - timing:
          - ON for at most 300ms
          - OFF for at most 300ms
          - ON for at most 300ms
          - OFF for at most 300ms
          - ON for at most 300ms
        then:
          - logger.log: "Confirmed Triple Click"
          - homeassistant.event:
              event: esphome.on_gesture
              data:
                button: "1"
                gesture: "triple_click"

        # double click detection
      - timing:
          - ON for at most 200ms
          - OFF for at most 200ms
          - ON for at most 200ms
          - OFF for at least 800ms
        then:
          - logger.log: "Confirmed Double Click"
          - homeassistant.event:
              event: esphome.on_gesture
              data:
                button: "1"
                gesture: "double_click"

      # single click detection
      - timing:
          - ON for at most 300ms
          - OFF for at least 800ms
        then:
          - logger.log: "Confirmed Single Click"
          - homeassistant.event:
              event: esphome.on_gesture
              data:
                button: "1"
                gesture: "single_click"

      # hold detection
      - timing:
          - ON for at least 2s
        then:
          - while:
              condition:
                binary_sensor.is_on: button_1
              then:
                - light.toggle: led_status
                - homeassistant.event:
                    event: esphome.on_gesture
                    data:
                      button: "1"
                      gesture: "button_hold"
                - delay: 100ms
          - light.turn_off: led_status

  - platform: gpio
    name: "Button 2"
    id: button_2
    pin:
      number: GPIO00
      mode: INPUT_PULLUP
      inverted: true

    filters:
      - delayed_on: 10ms

    on_press:
      - if:
          condition:
            switch.is_off: relay_2_decoupled
          then:
            - switch.toggle: relay_2

    on_multi_click:
      # triple click detection
      - timing:
          - ON for at most 300ms
          - OFF for at most 300ms
          - ON for at most 300ms
          - OFF for at most 300ms
          - ON for at most 300ms
        then:
          - logger.log: "Confirmed Triple Click"
          - homeassistant.event:
              event: esphome.on_gesture
              data:
                button: "2"
                gesture: "triple_click"

        # double click detection
      - timing:
          - ON for at most 200ms
          - OFF for at most 200ms
          - ON for at most 200ms
          - OFF for at least 800ms
        then:
          - logger.log: "Confirmed Double Click"
          - homeassistant.event:
              event: esphome.on_gesture
              data:
                button: "2"
                gesture: "double_click"

      # single click detection
      - timing:
          - ON for at most 300ms
          - OFF for at least 800ms
        then:
          - logger.log: "Confirmed Single Click"
          - homeassistant.event:
              event: esphome.on_gesture
              data:
                button: "2"
                gesture: "single_click"

      # hold detection
      - timing:
          - ON for at least 2s
        then:
          - while:
              condition:
                binary_sensor.is_on: button_2
              then:
                - light.toggle: led_status
                - homeassistant.event:
                    event: esphome.on_gesture
                    data:
                      button: "2"
                      gesture: "button_hold"
                - delay: 100ms
          - light.turn_off: led_status

  - platform: gpio
    name: "Button 3"
    id: button_3
    pin:
      number: GPIO15
      mode: INPUT_PULLUP
      inverted: true

    filters:
      - delayed_on: 10ms

    on_press:
      - if:
          condition:
            switch.is_off: relay_3_decoupled
          then:
            - switch.toggle: relay_3

    on_multi_click:
      # triple click detection
      - timing:
          - ON for at most 300ms
          - OFF for at most 300ms
          - ON for at most 300ms
          - OFF for at most 300ms
          - ON for at most 300ms
        then:
          - logger.log: "Confirmed Triple Click"
          - homeassistant.event:
              event: esphome.on_gesture
              data:
                button: "3"
                gesture: "triple_click"

        # double click detection
      - timing:
          - ON for at most 200ms
          - OFF for at most 200ms
          - ON for at most 200ms
          - OFF for at least 800ms
        then:
          - logger.log: "Confirmed Double Click"
          - homeassistant.event:
              event: esphome.on_gesture
              data:
                button: "3"
                gesture: "double_click"

      # single click detection
      - timing:
          - ON for at most 300ms
          - OFF for at least 800ms
        then:
          - logger.log: "Confirmed Single Click"
          - homeassistant.event:
              event: esphome.on_gesture
              data:
                button: "3"
                gesture: "single_click"

      # hold detection
      - timing:
          - ON for at least 2s
        then:
          - while:
              condition:
                binary_sensor.is_on: button_3
              then:
                - light.toggle: led_status
                - homeassistant.event:
                    event: esphome.on_gesture
                    data:
                      button: "3"
                      gesture: "button_hold"
                - delay: 100ms
          - light.turn_off: led_status

# Useful diagnostics
sensor:
  - platform: template
    id: internal_temp
    name: "Internal Temperature"
    icon: "mdi:thermometer"
    unit_of_measurement: "°C"
    entity_category: diagnostic
    disabled_by_default: true
    lambda: return temperatureRead();

  - platform: wifi_signal
    name: "RSSI"
    id: sensor_rssi
    update_interval: 90s
    entity_category: "diagnostic"

  - platform: uptime
    name: "Uptime"
    id: sensor_uptime
    update_interval: 300s
    entity_category: "diagnostic"

output:
  - platform: ledc
    id: pwm_output
    pin: GPIO18
    frequency: 1000 Hz

light:
  # Physical pin to the connection status LED
  # We don't expose this to the HA UI (internal)
  - platform: status_led
    name: "LED"
    id: led_status
    pin:
      number: GPIO05
      inverted: true
    internal: true
    restore_mode: RESTORE_DEFAULT_ON

  # HA UI connection to the background brightness (PWM) pin
  - platform: monochromatic
    output: pwm_output
    name: "Background Brightness"
    restore_mode: RESTORE_DEFAULT_OFF
    icon: "mdi:led-outline"
    entity_category: "config"

switch:
  # Physical GPIO Relay
  - platform: gpio
    name: "Relay 1"
    pin: GPIO23
    id: relay_1

  # Physical GPIO Relay
  - platform: gpio
    name: "Relay 2"
    pin: GPIO19
    id: relay_2

  # Physical GPIO Relay
  - platform: gpio
    name: "Relay 3"
    pin: GPIO22
    id: relay_3

  # Config-only switch to decouple relay from button
  - platform: template
    name: "Decoupling - Relay 1"
    id: relay_1_decoupled
    optimistic: true
    restore_mode: RESTORE_DEFAULT_OFF
    icon: "mdi:link-box-outline"
    entity_category: "config"

  # Config-only switch to decouple relay from button
  - platform: template
    name: "Decoupling - Relay 2"
    id: relay_2_decoupled
    optimistic: true
    restore_mode: RESTORE_DEFAULT_OFF
    icon: "mdi:link-box-outline"
    entity_category: "config"

  # Config-only switch to decouple relay from button
  - platform: template
    name: "Decoupling - Relay 3"
    id: relay_3_decoupled
    optimistic: true
    restore_mode: RESTORE_DEFAULT_OFF
    icon: "mdi:link-box-outline"
    entity_category: "config"

# Blink the middle LED every second until a connection is made
interval:
  - interval: 1s
    then:
      - if:
          condition:
            wifi.connected:
          then:
            - if:
                condition:
                  light.is_on: led_status
                then:
                  - light.turn_off: led_status
                  - logger.log: "connected"
          else:
            - light.toggle: led_status
Adding to Home Assistant
After adding the device to home assistant you should see something like this. You’re now good to go!

Using the gestures in Home Assistant
In order to trigger something from the SONOFF switch, we need to listen for esphome.on_gesture events on the HomeAssistant even bus. If you want you can test the switch is working by inspecting the event bus and logging the out.
Go to Developer tools > Events
Then enter esphome.on_gesture in the field in the “Listen to Events” section and click Start listening.
Press the any of the buttons on the switch and you should start seeing some events being logged.

Assigning behaviour to each button gesture
To trigger the desired behaviour we want based on one of the button gestures, we need to use an automation. Doing this for each gesture for each button manually could end up getting a bit messy and repetitive. To handle this complexity I created a Blueprint which handles this for us. I’ve also created a Blueprint to handle the colour palette that we want to cycle through.
Start by importing the following blueprints into your HomeAssistant
Once you have added them to Home Assistant, go to the Blueprints page and select the color palette blueprint you just added and pick some colors.

Then click Save script, give it a name and then click Rename

Now thats saved, while on the Blueprints page open the SONOFF M5 Switch Button blueprint

The next part is pretty straight forward, fill out all the fields. For the Press and Hold action, you will need to select the colour palette script you created earlier.
You will need to repeat this process for each button on the switch

Lastly we need somewhere to store some timestamps so we can keep a track of when the automation was last run. We need this in order for the press and hold action that will run on every interval.
Paste this into your configuration.yaml file.
input_text:
  debounce_timestamps:
    name: Debounce Timestamps
    initial: "{}"
    max: 1000 # Optional: Set a maximum length if desired
Or you can create one through the UI by going to Settings > Devices & services > Helpers > Create helper. Then select Text

